
Creating a Class
Creating a class allows you to manage your students and lessons effectively.
Step 1: Access the Teacher Dashboard
- Log in to Elementari: Start by logging into your Elementari teacher account.
- Go to the Dashboard: After logging in, you will be directed to your teacher dashboard. If you have no classes created yet, your dashboard will look like this:
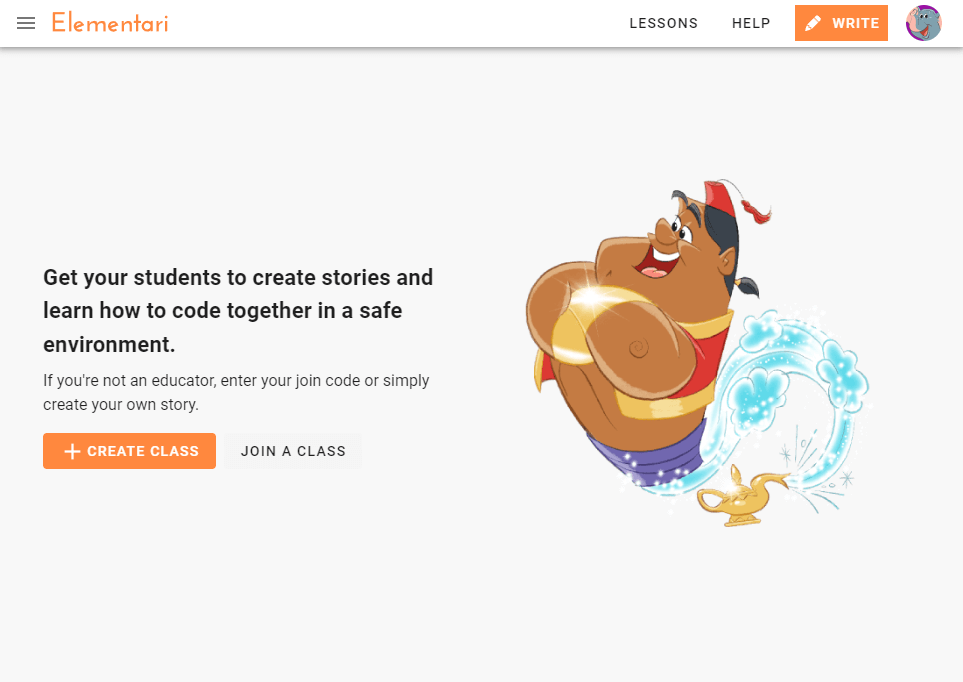
Screenshot of the teacher's dashboard upon first login when there are no classes created.
Step 2: Open the Create Class Form and Fill in the Details
- Click on Create Class: Click on the
+ CREATE CLASSbutton to open the create class form. - Enter Class Information: Fill in the required details in the create class form, including the class name, description, class grade, and subject.
- Set a Password (Optional): You can set a password for all student accounts created by the teacher. This ensures that all students have a simple method to login.
Setting a password can be ideal for younger students. It can also be beneficial for rotation stations, drop-ins, or other flexible setups where students need quick and easy access.
Username and password logins can be used along with QR Code / Link Logins.
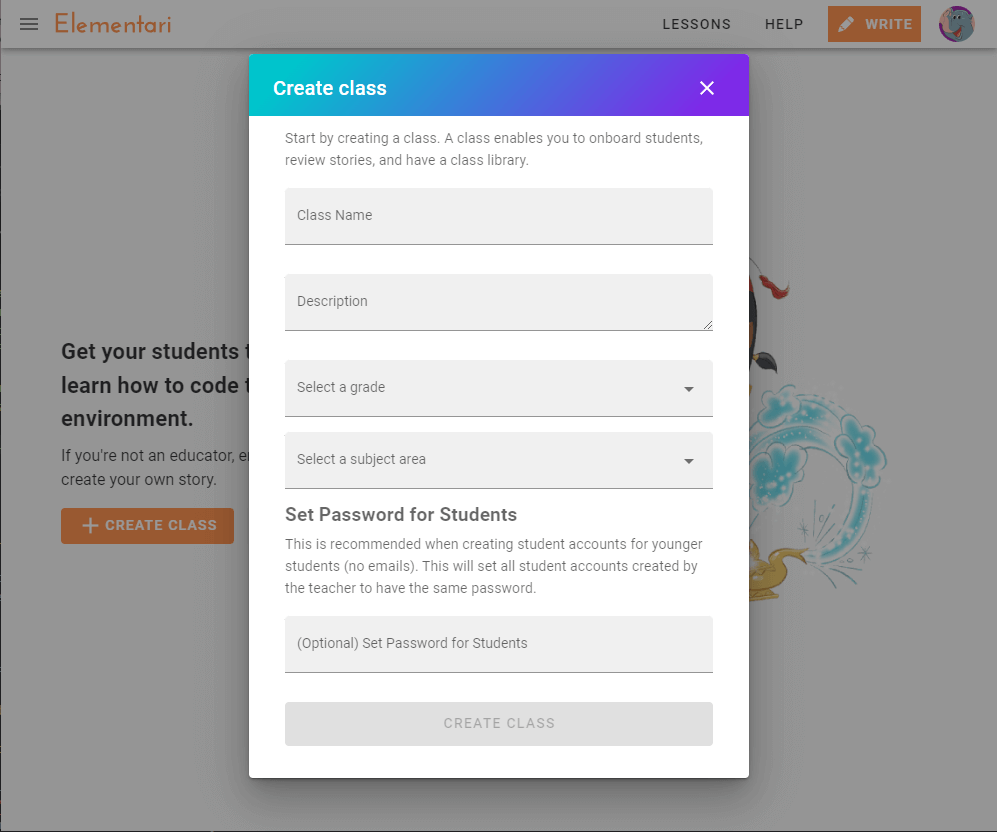
Screenshot of the create class form.
Step 3: Submit the Form and Explore the Classroom Dashboard
- Submit the Form: Click the
CREATE CLASSbutton to create your class. - Confirmation: You will be redirected to your new class page, where you will be asked to invite your students.
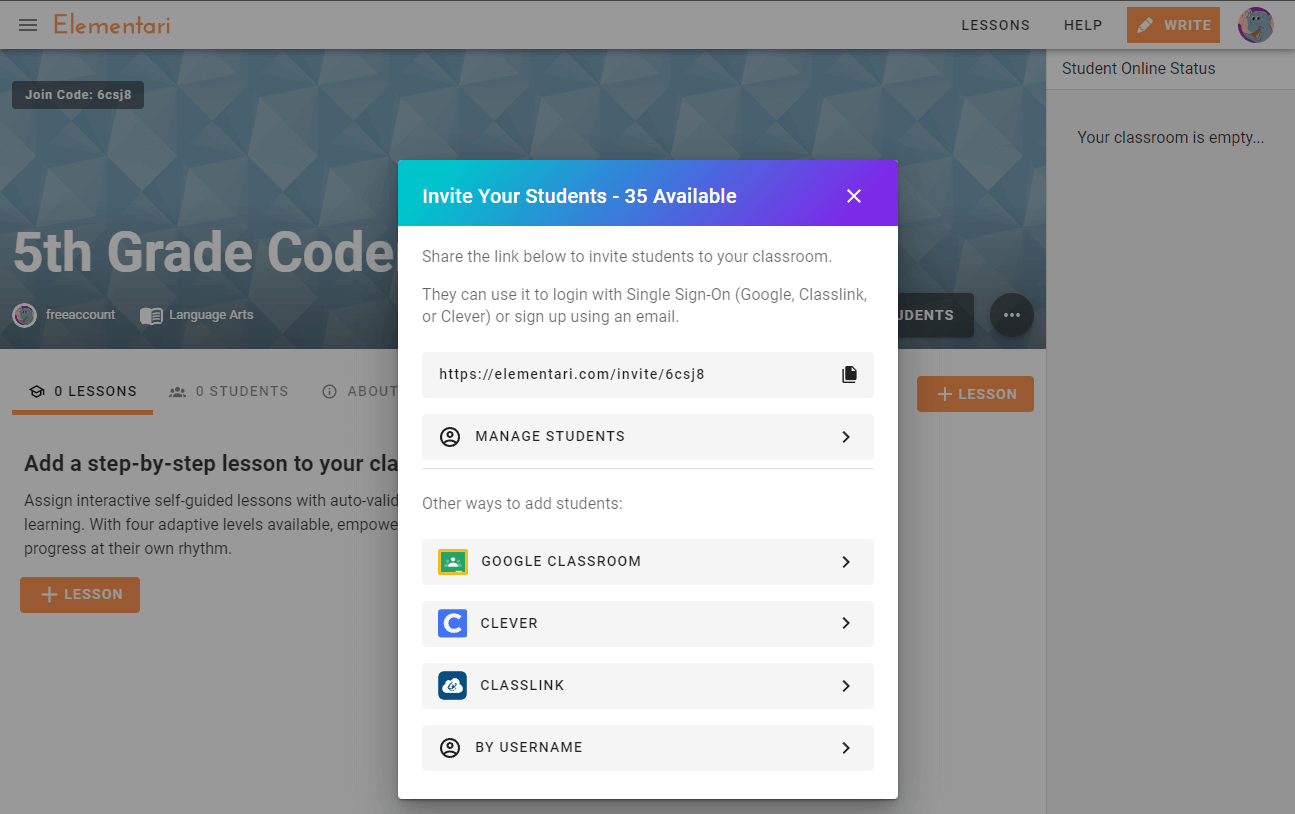
Screenshot of your classroom page with the invite students popup.
Next Step: Onboard Your Students
To start adding students to your new class, check out the Onboarding Students Overview help article.
Learn more about Getting Started with Elementari.