
Assigning an Interactive Lesson
Engage your students with structured, hands-on projects by assigning interactive lessons on Elementari. Follow these steps to assign a lesson to your classroom:
Step 1: Access the Lesson Page
- Navigate to the Lesson Library: Go to the Lesson Library and select the lesson you want to assign.
- Select the Lesson: On the lesson page, click the
SELECTbutton.
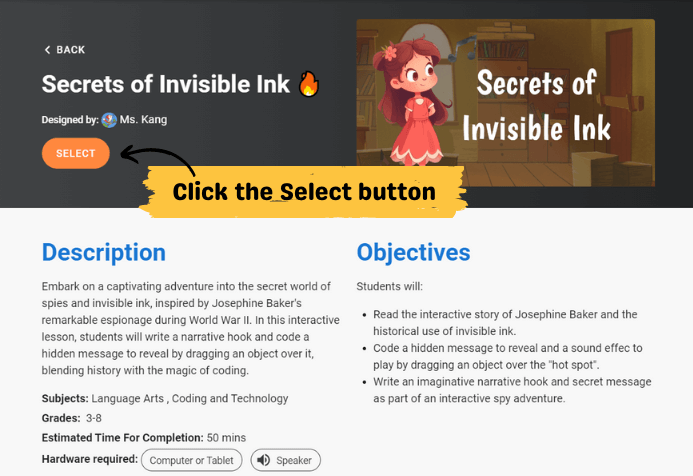
Screenshot of the lesson page with the select button.
Step 2: Start the Lesson for Your Class
- Choose "For Your Class": In the dialog that appears, click on
FOR YOUR CLASSto start the lesson for your class.
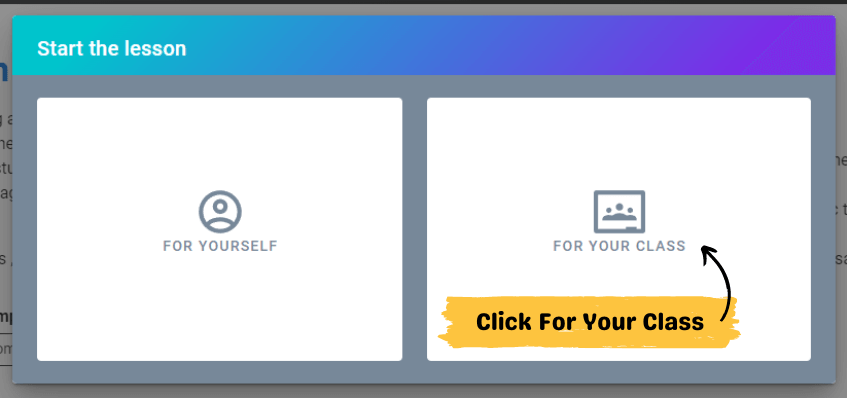
Screenshot of the options.
Step 3: Fill Out the Assignment Form
- Classroom Selection: Choose the classroom from the dropdown menu.
- Collaboration Options:
- Enable Collaboration: Allow project access for the entire classroom or for anyone with the link.
- Chat Settings: Enable or disable in-project chat to facilitate collaborative work.
- Set Dates:
- Start Date: Specify when students will be able to view the lesson.
- End Date: Set a deadline for the lesson.
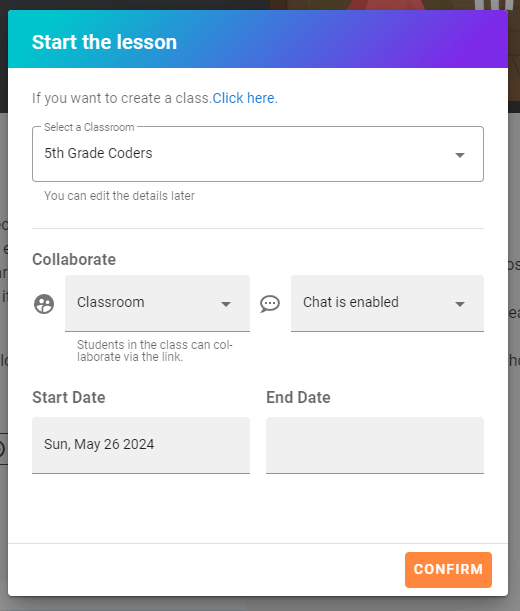
Screenshot of the lesson assignment form.
Step 4: Confirm and Assign the Lesson
- Press Confirm: Click the
CONFIRMbutton to assign the lesson to your classroom.
Student View
When students log in and after they have entered your classroom, they will see the assigned lesson on their dashboard.
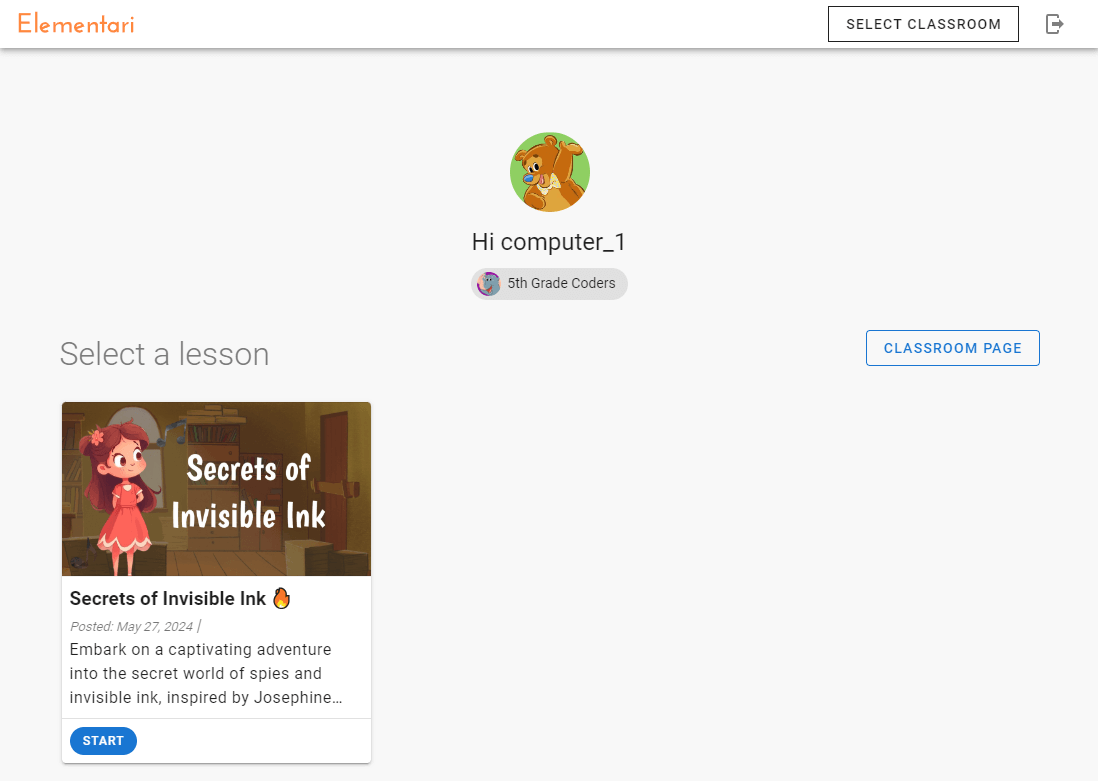
Screenshot of an example of what students will see when they enter a classroom with an assigned lesson.
Tips for Effective Lesson Assignment
- Provide Feedback: Use Elementari to give personalized feedback to students. Learn how to provide feedback.
- Monitor Progress: Track student progress and engagement using Elementari’s engagement statistics.
- Encourage Collaboration: Enable collaboration settings to foster teamwork and interactive learning.