
Closing a Lesson
When you close a lesson on Elementari, students will no longer be able to edit their projects. This is useful for finalizing projects and ensuring no further changes are made.
Step 1: Access the Lesson
- Navigate to the Lesson: Go to the specific lesson you want to close.
- Click the Settings Button: Click on the button
...to open the settings dropdown menu. SelectLesson Settings.
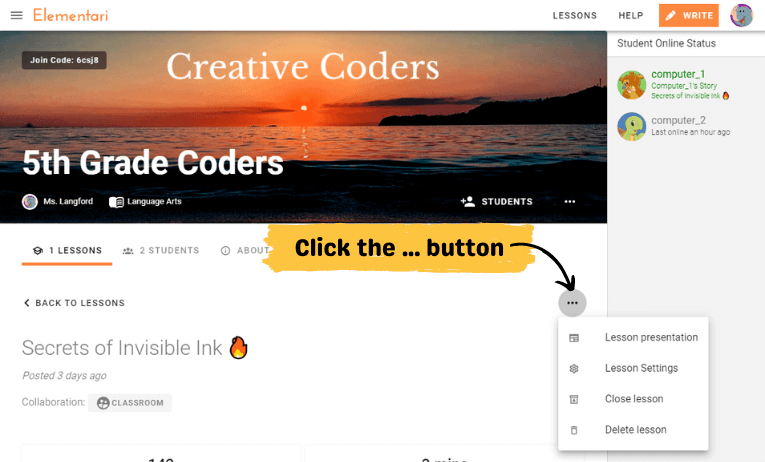
Screenshot of the teacher's lesson page and the ... button to open up the actions
Step 2: Close the Lesson
- Open Lesson Settings: Click on the settings icon for the lesson.
- Select Close Lesson: Choose the option to close the lesson. A confirmation dialog will appear.
- Confirm Closure: Confirm that you want to close the lesson.
What Happens After Closing a Lesson?
- Editing Disabled: Students will no longer be able to edit their projects once the lesson is closed.
- Finalized Projects: This ensures that all student work is finalized and no further changes can be made.
Tips for Managing Closed Lessons
- Inform students about the closure and explain why their editing access is being disabled.
- Use this feature to finalize grades or prepare for project presentations.
Closing a lesson helps maintain project integrity and prepares student work for final review.
For more details, visit our Quick Classroom Getting Started Guide.